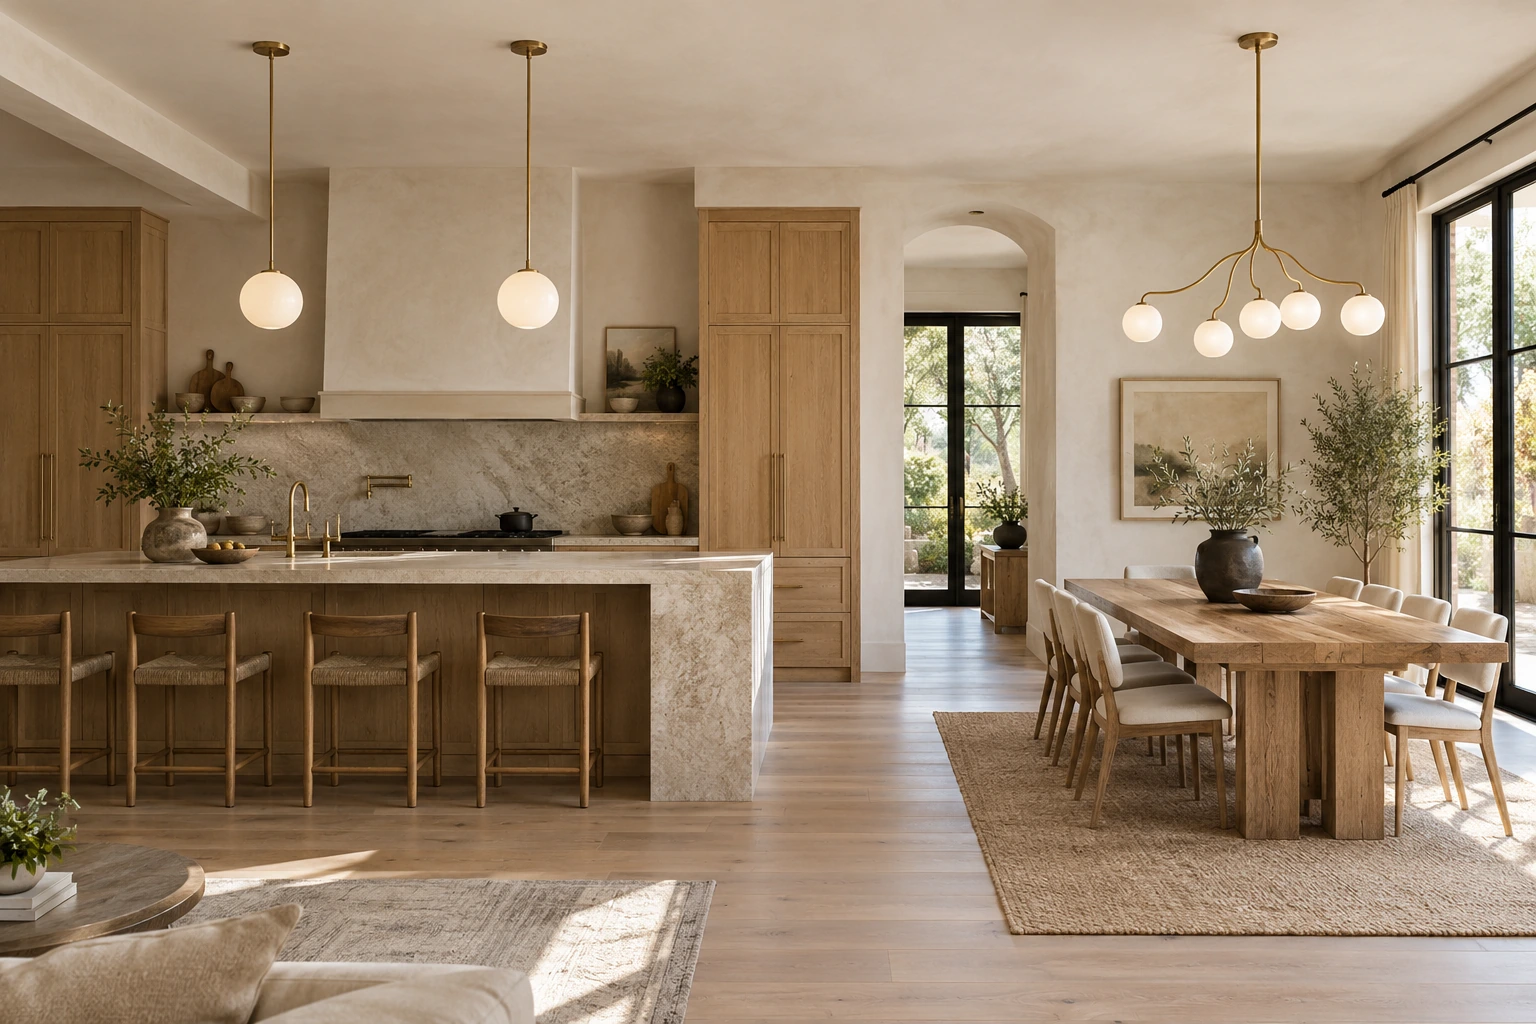
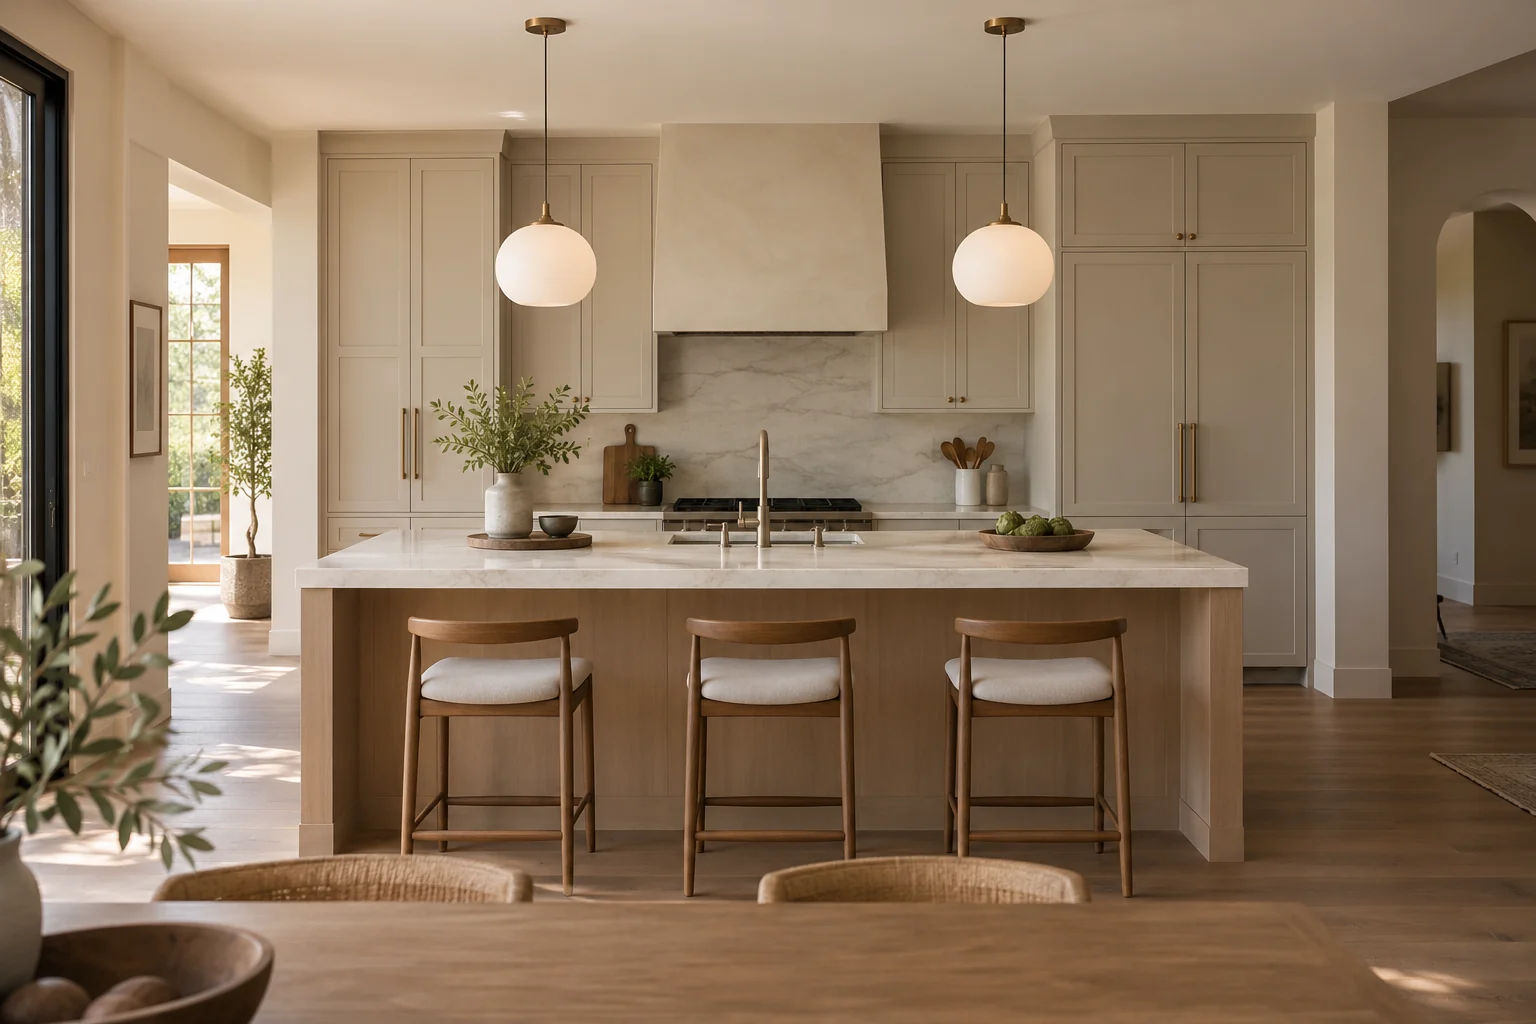
Chandelier Height Above a Table for Standard and High Ceilings
Start with the distance above the tabletop, then check the ceiling drop, the fixture shape and the view from every seat.

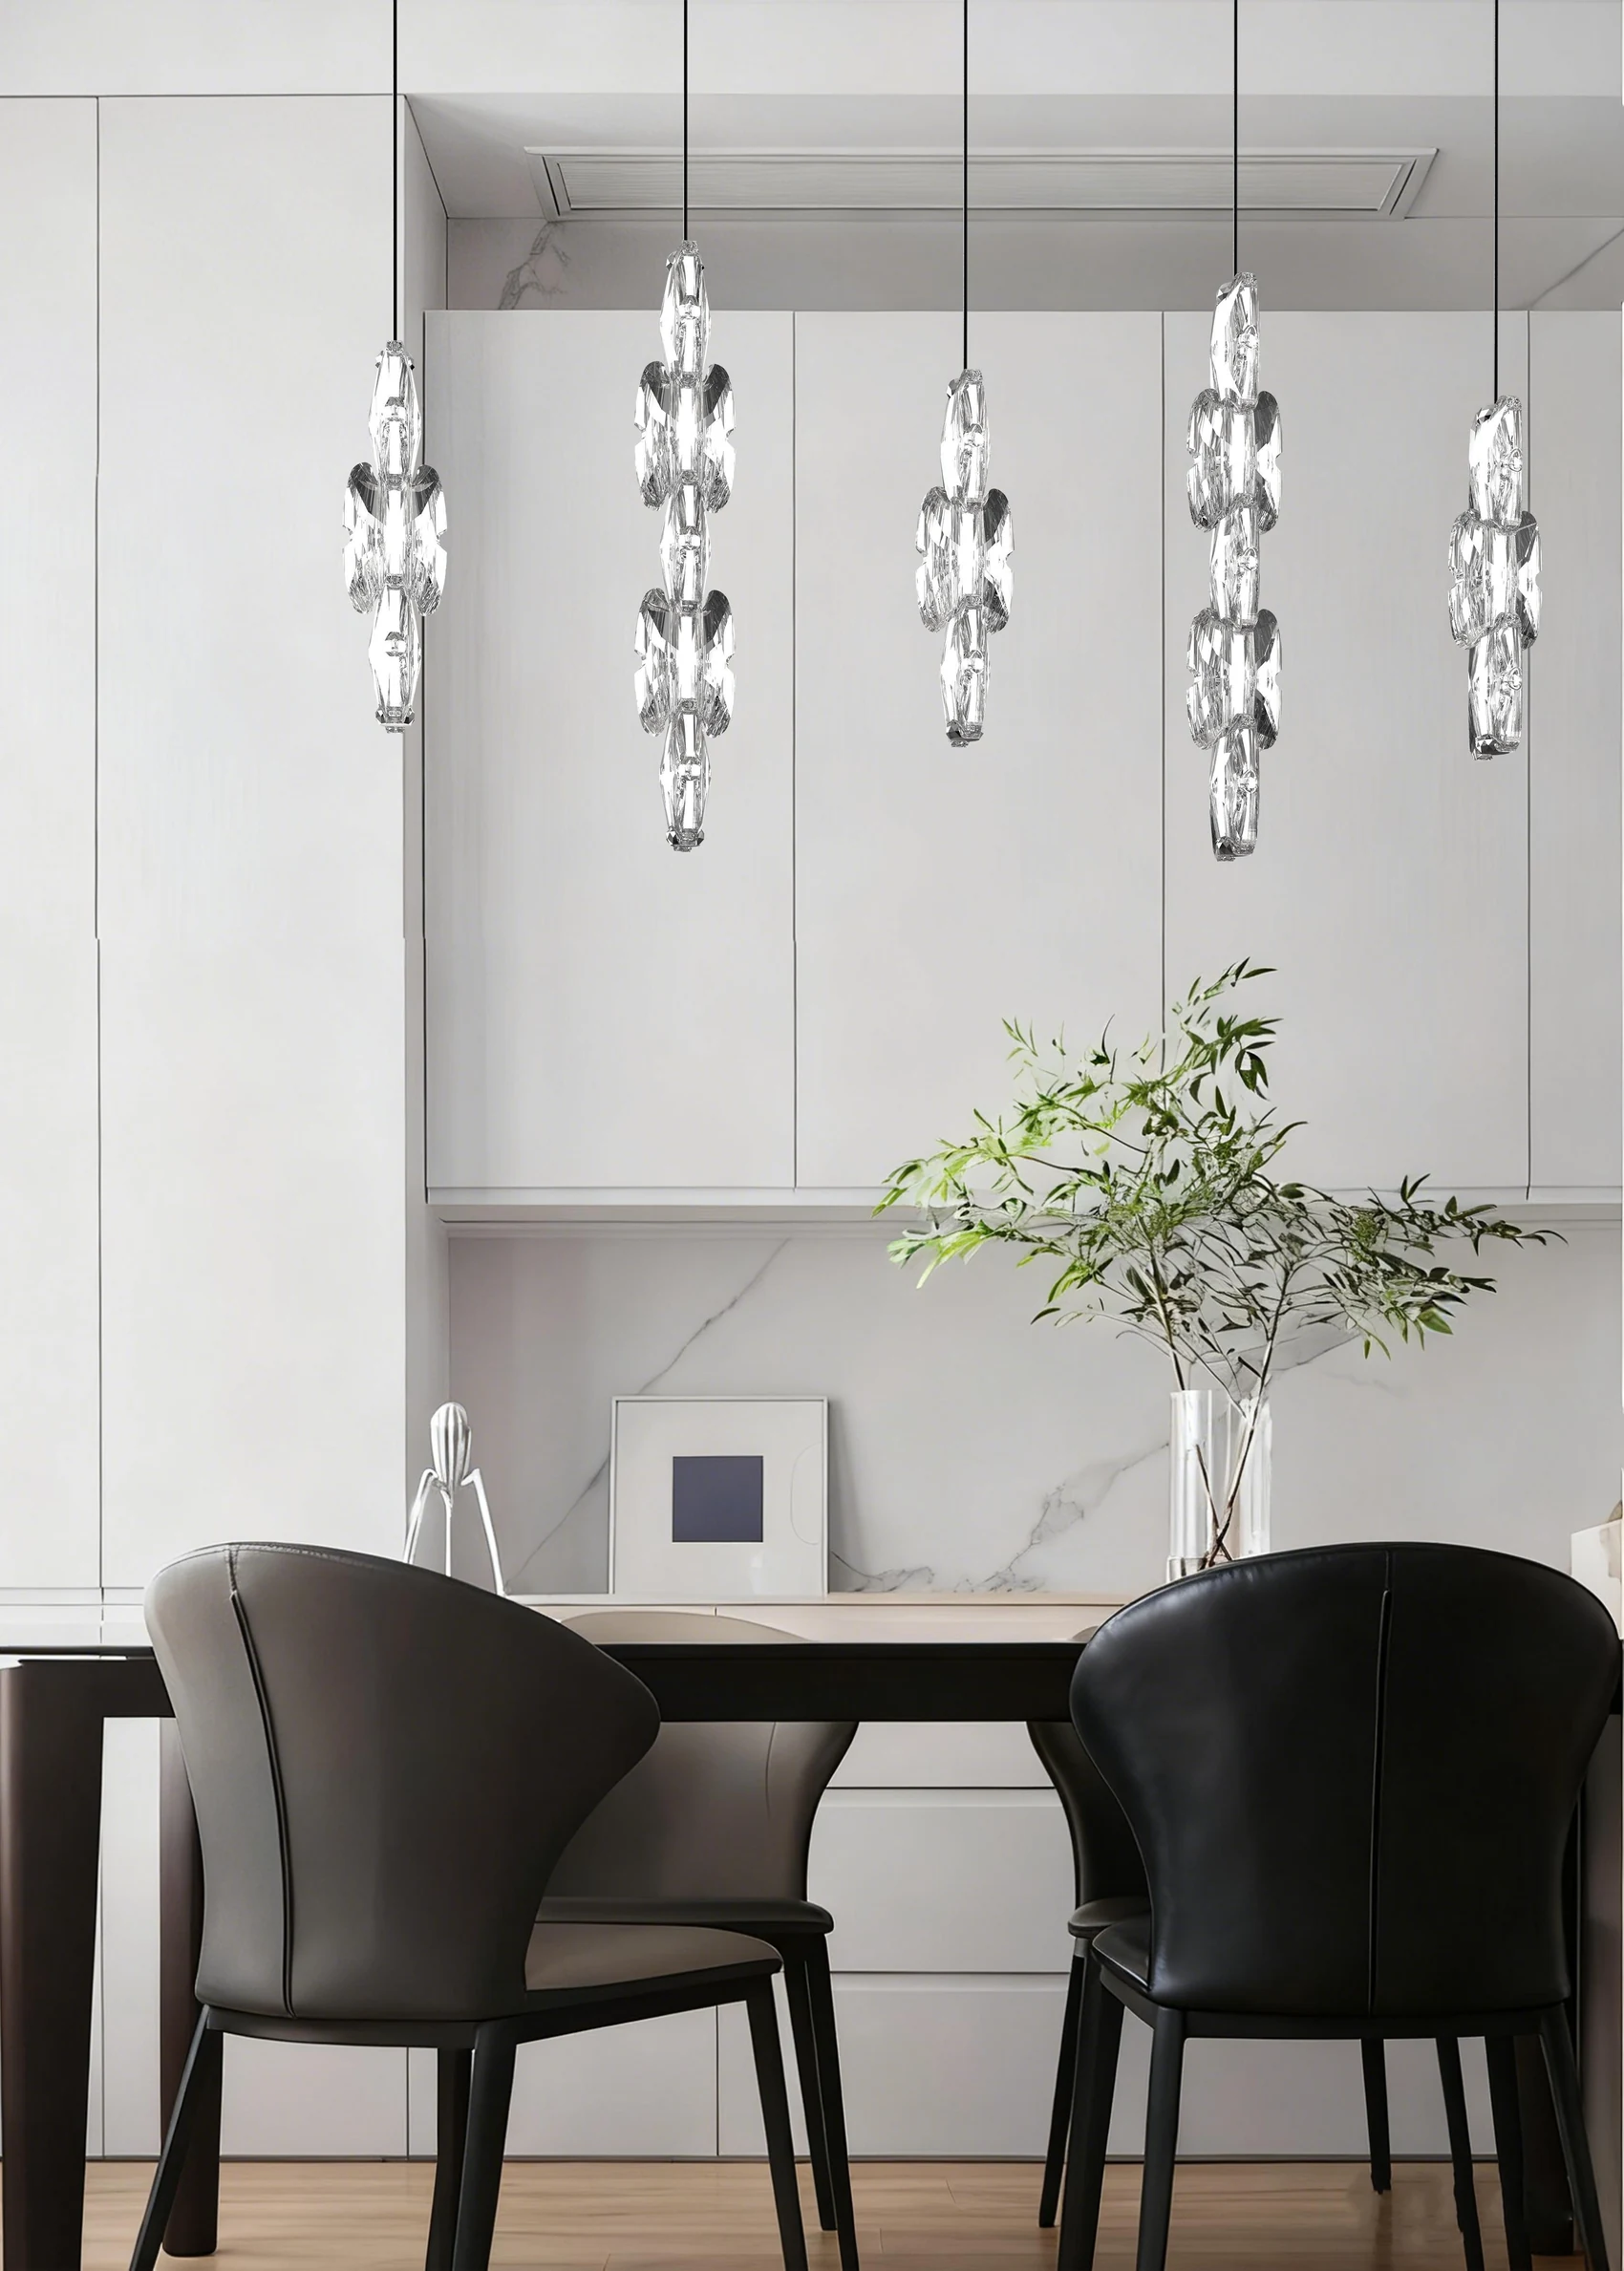
A useful starting point for chandelier height above a table is 30 to 36 inches from the tabletop to the lowest part of the fixture. That is about 76 to 91 cm. It is a planning range, especially for an 8-foot ceiling. The final position should leave a comfortable view across the table and suit the way the fixture directs its light. Visual Comfort’s lighting guide uses this range for dining tables.
In a room with a high ceiling, you also need to work out how far the complete fixture must descend from the ceiling. A longer suspension can bring the chandelier into the dining area while leaving the volume above it open. Set the table in its intended position before judging that relationship.
Measure from the tabletop to the lowest point
Measure vertically from the finished tabletop to the chandelier’s lowest element. Include hanging glass, a lower tier or a sculptural tip. Measuring to the centre of the fixture can leave its bottom much closer to the table than expected.
Try the 30 to 36-inch range with the actual table and chairs in place. Sit at both ends and along the sides. Check whether you can see the person opposite without looking around the fixture, and whether the light feels comfortable when switched on.
For a group of pendants at different levels, record the lowest point and the position of each element. An average height can hide a pendant that interferes with a seated view.
Calculate the overall drop from the ceiling
Three measurements describe different parts of the arrangement:
- Table clearance is the distance from the tabletop to the fixture’s lowest point.
- Fixture body height is the height of the decorative light itself.
- Overall installed drop is the distance from the finished ceiling at the mounting point to the fixture’s lowest point, including its suspension.
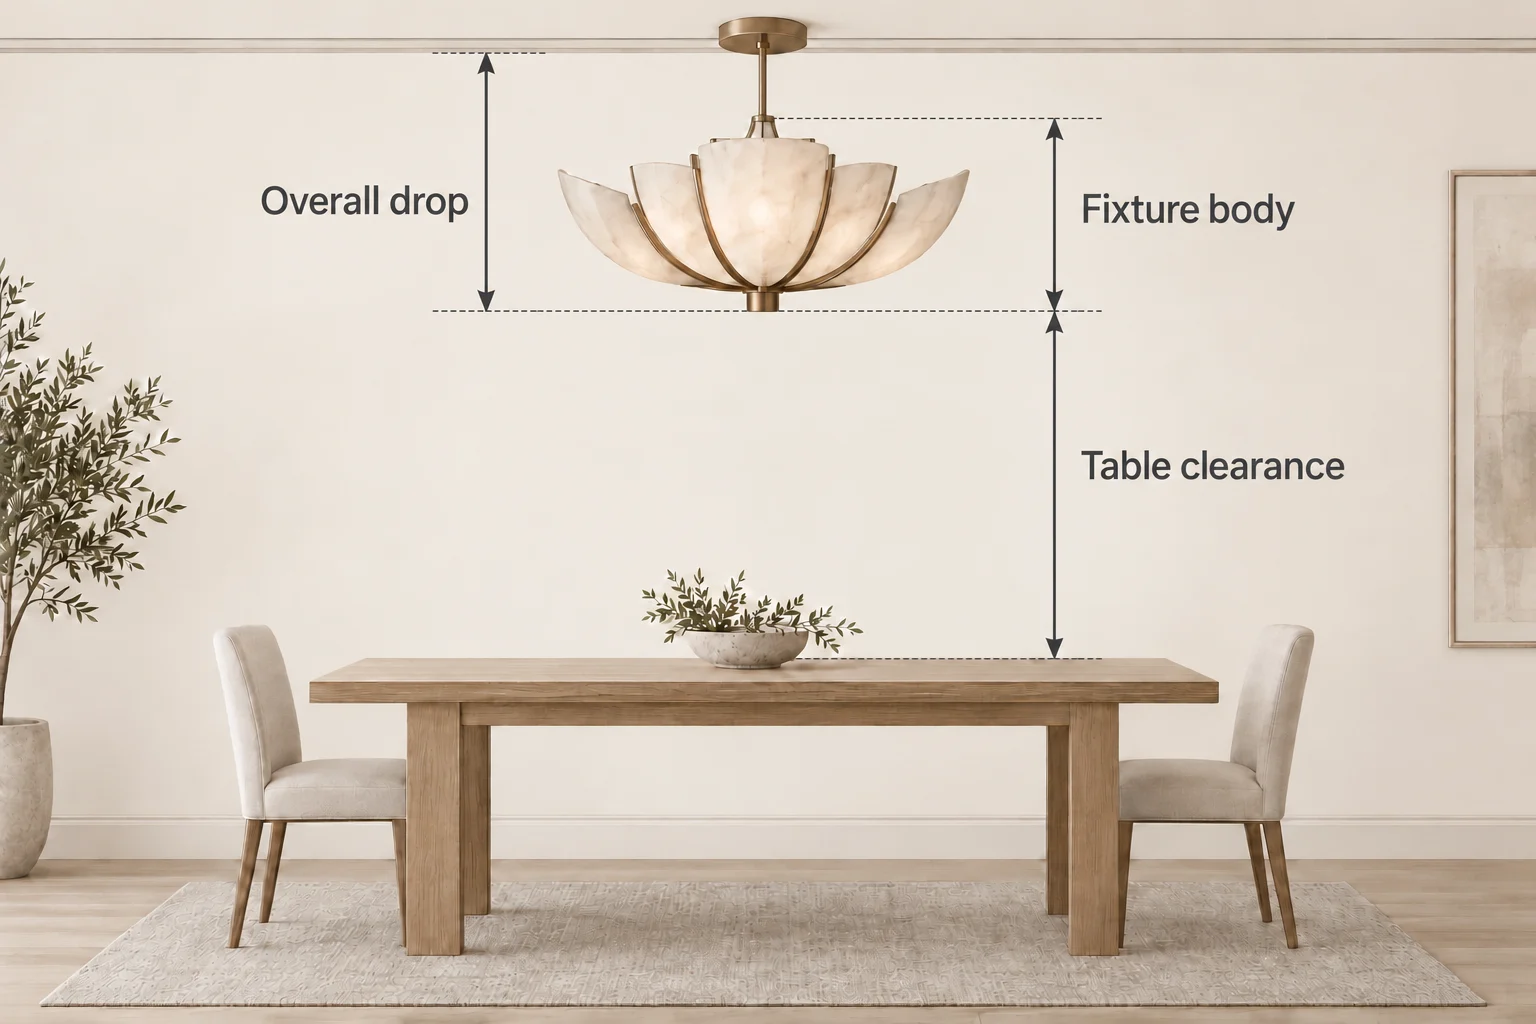
To calculate a proposed overall drop, use the same units throughout:
Overall drop = ceiling height − table height − table clearance.
For example, assume a 30-inch-high table and a trial clearance of 33 inches. The bottom of the fixture would be 63 inches above the floor. That gives these illustrative overall drops:
- An 8-foot ceiling needs a 33-inch overall drop.
- A 12-foot ceiling needs an 81-inch overall drop.
- A 15-foot ceiling needs a 117-inch overall drop.
These examples hold the table clearance constant to show how much the suspension requirement changes. They are not finished height recommendations for those rooms. Once you choose a different clearance, calculate the drop again.
Check the selected fixture’s dimension drawing against that result. Confirm whether its stated height includes the canopy, connectors and suspension, and whether it can reach the required installed drop. For a sloped ceiling, measure the height at the actual mounting point.
Adjust the height for a high ceiling
Published guides approach tall dining rooms differently. Kichler’s chandelier guide starts round or square chandeliers at 30 inches above the table and suggests that wider tables or taller ceilings may benefit from an additional 3 to 6 inches. Lumens’ ceiling light guide uses a 30 to 36-inch baseline and adds 3 inches for each foot of ceiling height above 8 feet.
Those are different planning approaches. Compare their suggested positions against your fixture and dining area before choosing the final height.
A dining room with a 12 foot ceiling
Applying the Lumens guideline gives a trial clearance of 42 to 48 inches above the table: four additional feet multiplied by 3 inches adds 12 inches to the baseline. Compare that position with a lower trial position. Check which gives a better view across the table and a more convincing relationship between the light and the dining furniture.
A broad, shallow fixture and a tall chandelier occupy that space differently. Include the whole silhouette when judging the result. If the light feels disconnected from the table, review both its position and its scale.
A dining room with a 15 foot ceiling
At 15 feet, extending the same guideline gives 51 to 57 inches above the tabletop. Treat that as a position to evaluate, not an automatic installation target. In some arrangements, a fixture at that height may feel too far above the dining area.
For a sculptural chandelier, consider whether a taller or layered composition would use the room’s height more effectively while keeping its lower elements connected to the table. Kichler also recommends considering elongated shapes for taller ceilings. Our guide to double-height spaces explains how to compare a composition from different viewing positions.
Check the light from every seat
Height and visual comfort need to be assessed together. Raising a fixture changes the angle from which you see its underside. Depending on the shade and light-source position, a higher setting may make an exposed bulb or LED more visible.
With the light on, sit in each regular dining position and check:
- Whether a bright light source is directly visible through the bottom or sides.
- Whether people and objects across the table remain easy to see.
- Whether the tabletop is comfortably lit at the brightness you expect to use.
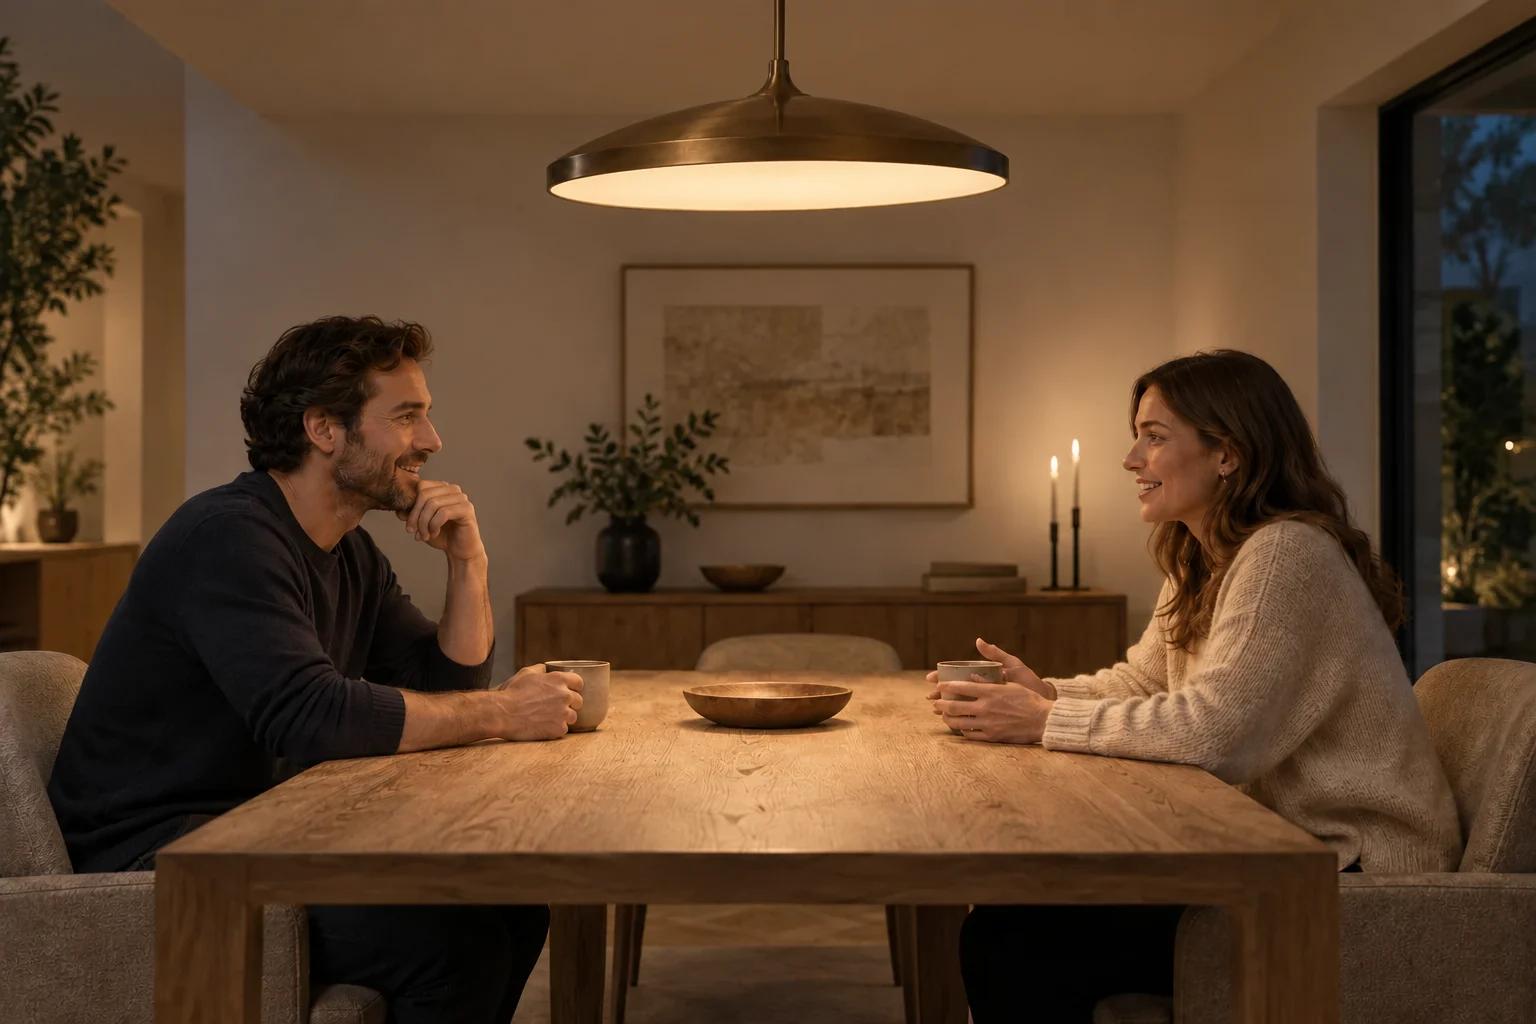
If the light is uncomfortable, compare height adjustments with a design that shields the source. Ask about dimming compatibility for the selected fixture, light source and control before making dimming part of the plan. A photograph of an unlit chandelier cannot settle this check.
Position the table before finalising the light
Mark the table’s everyday position, including space for chairs and the route to the kitchen or adjoining room. Use that layout to establish the intended lighting position. This is particularly useful when an existing ceiling outlet sits away from the table’s centre.
If moving the table under the outlet makes circulation cramped, discuss the mounting position with the installer. Any proposed change needs to suit the fixture’s suspension system and the ceiling. Confirm that arrangement before ordering a fixed-length suspension or finalising a custom composition.
For help comparing a continuous sculptural line with a sequence of pendants, see our dining table lighting composition guide. That choice can change the silhouette you need to test above the table.
Prepare the measurements for your project
For a discussion with Jun Lighting, bring the table’s length, width and height, the ceiling height at the proposed mounting point, and the distance from that point to the table’s centre. Add photographs taken from seated positions and from the main entrance to the room.
Include your preferred composition and the table clearance you want to evaluate. If you already have a fitting in mind, request its overall drop range and dimension drawing. Those details let the project discussion address both the visual arrangement and the installation conditions.
Share your dining space with Jun Lighting to discuss a reference and the dimensions that need confirming for your room.