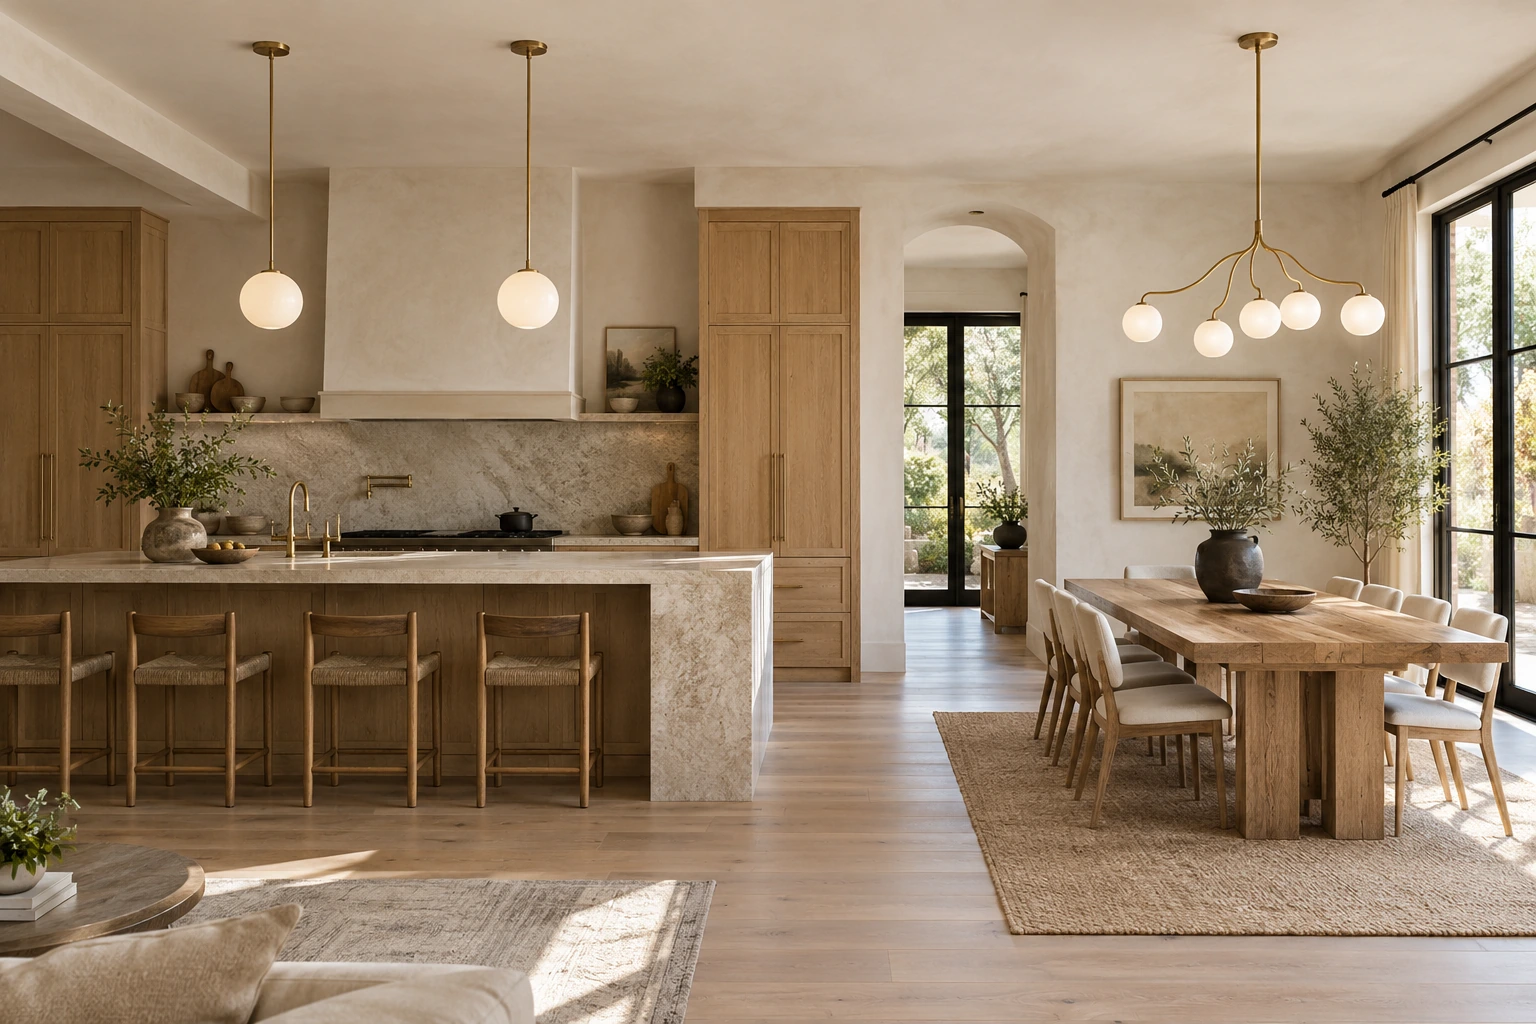
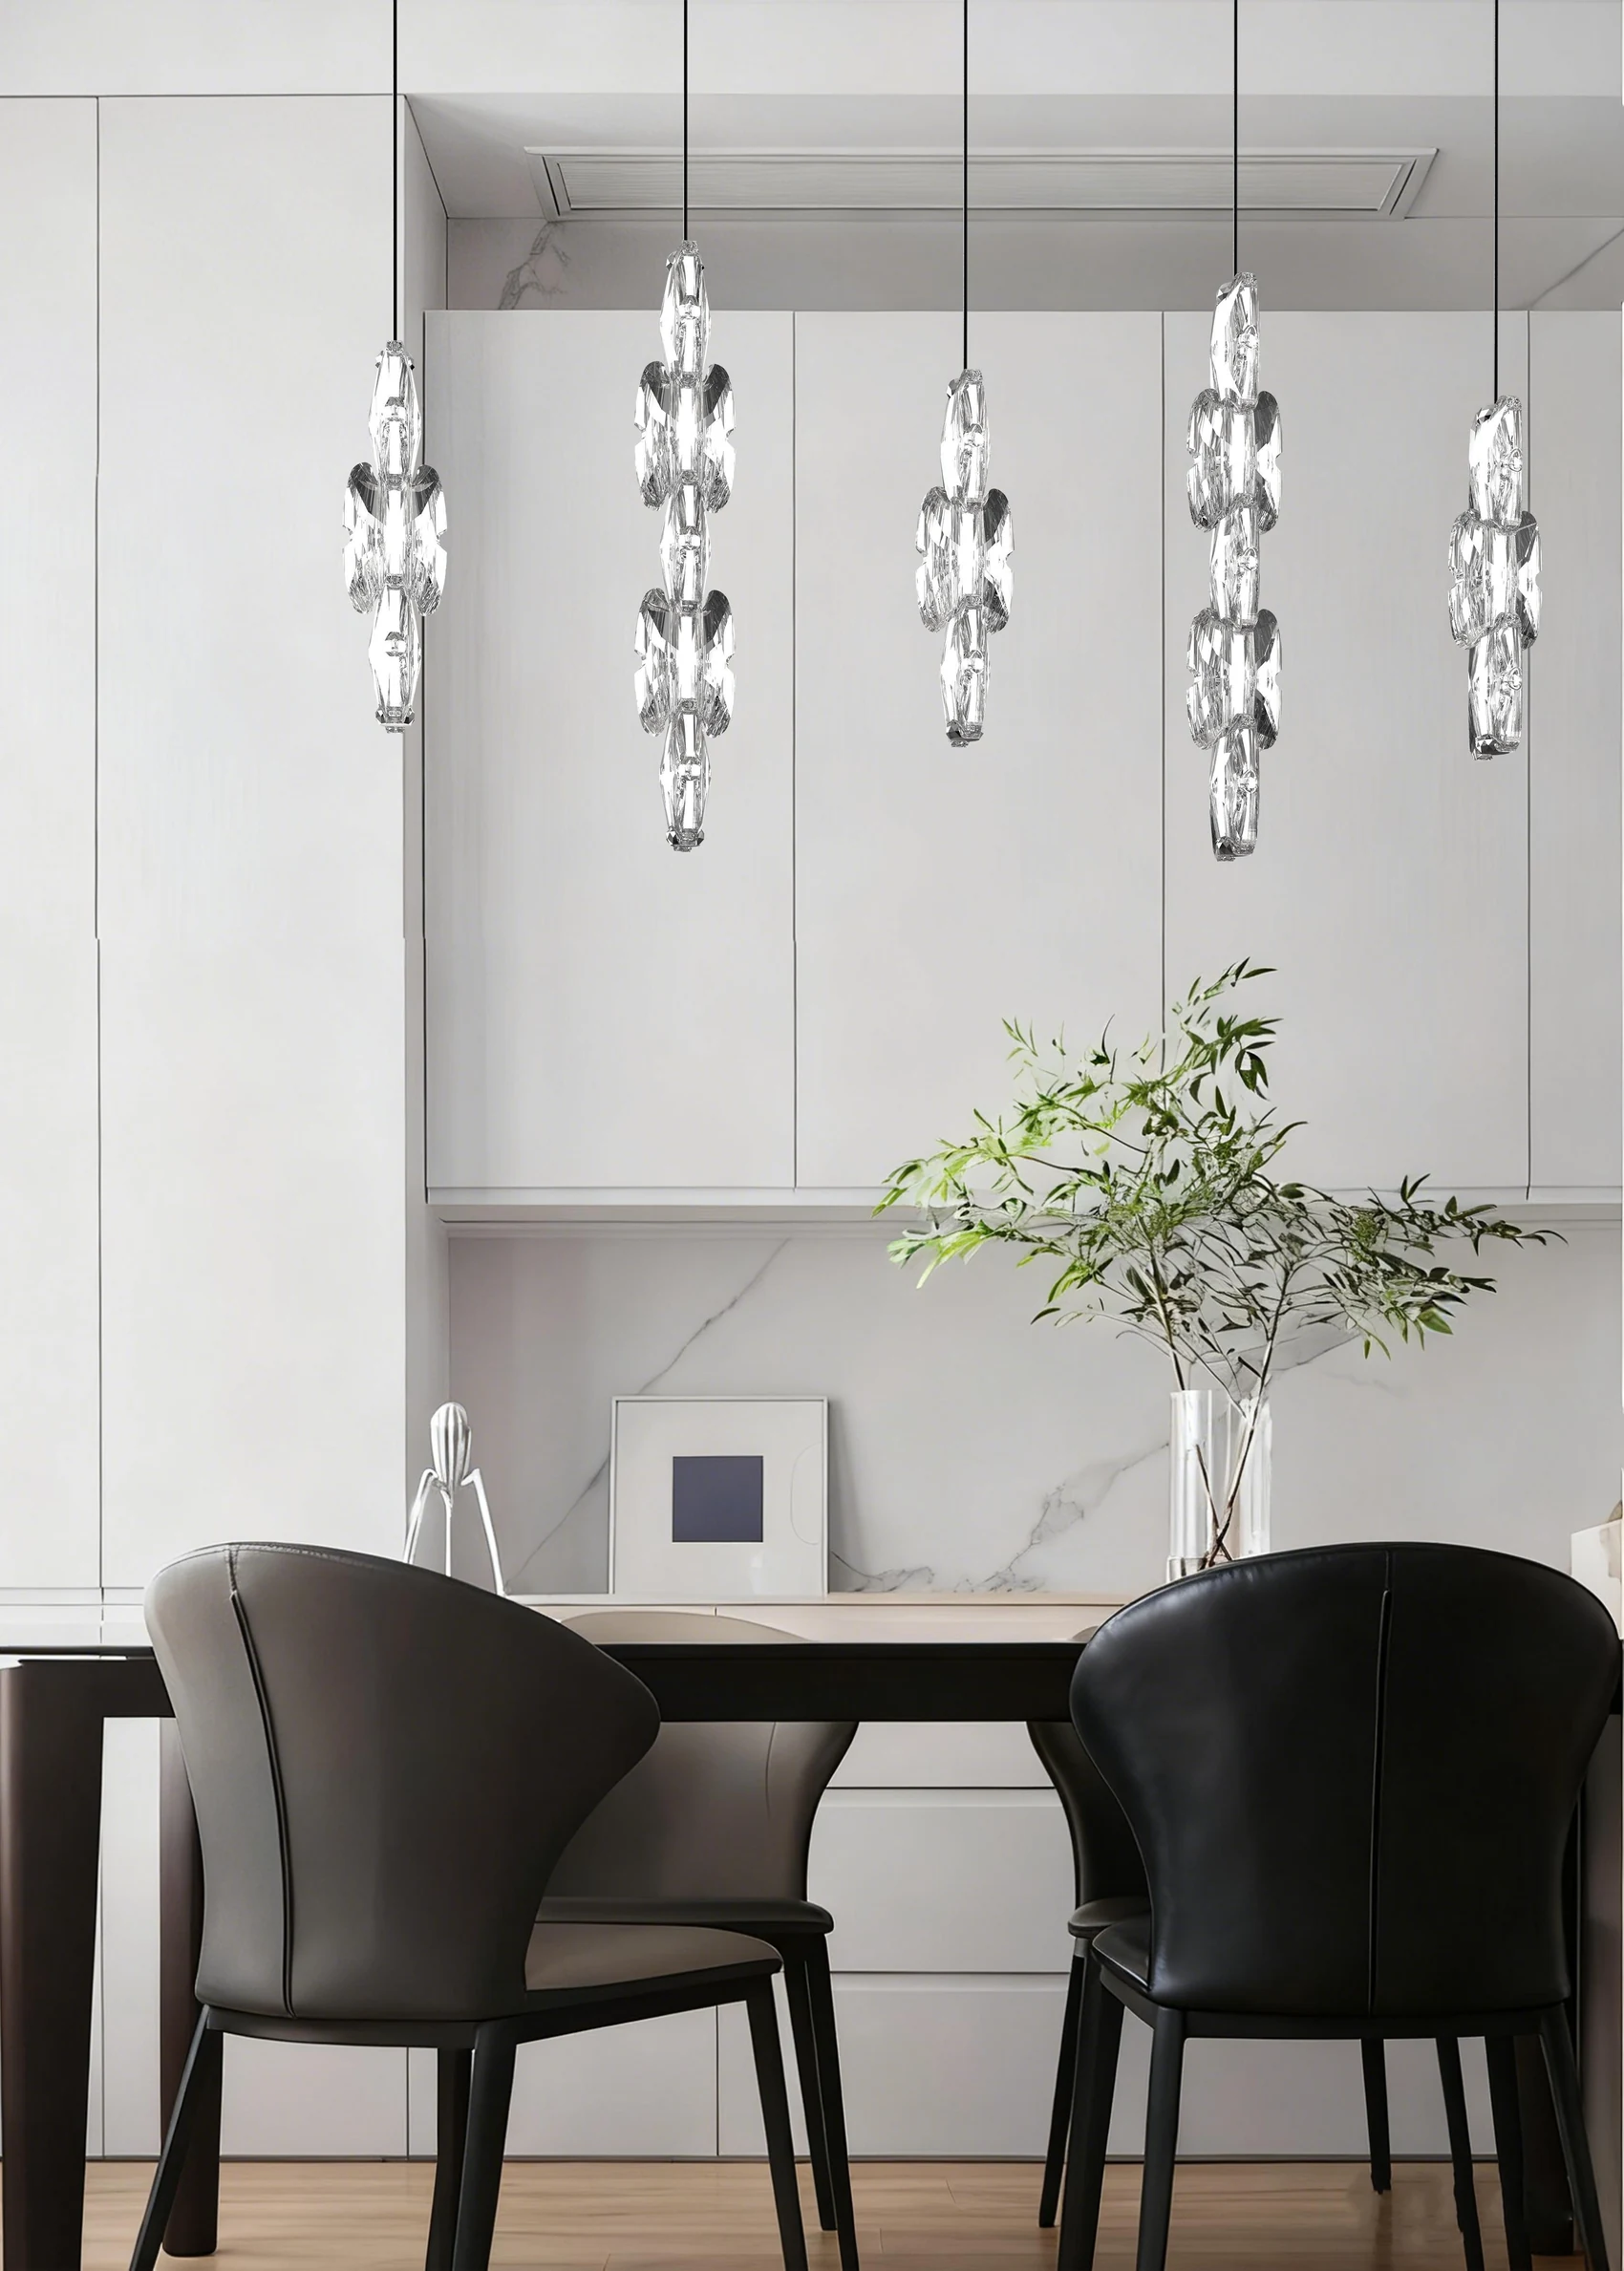
Kitchen Island Pendant Size and Spacing: Two or Three Lights?
Choose pendant size and quantity together, then check spacing, end margins and sightlines on an island with a central sink.

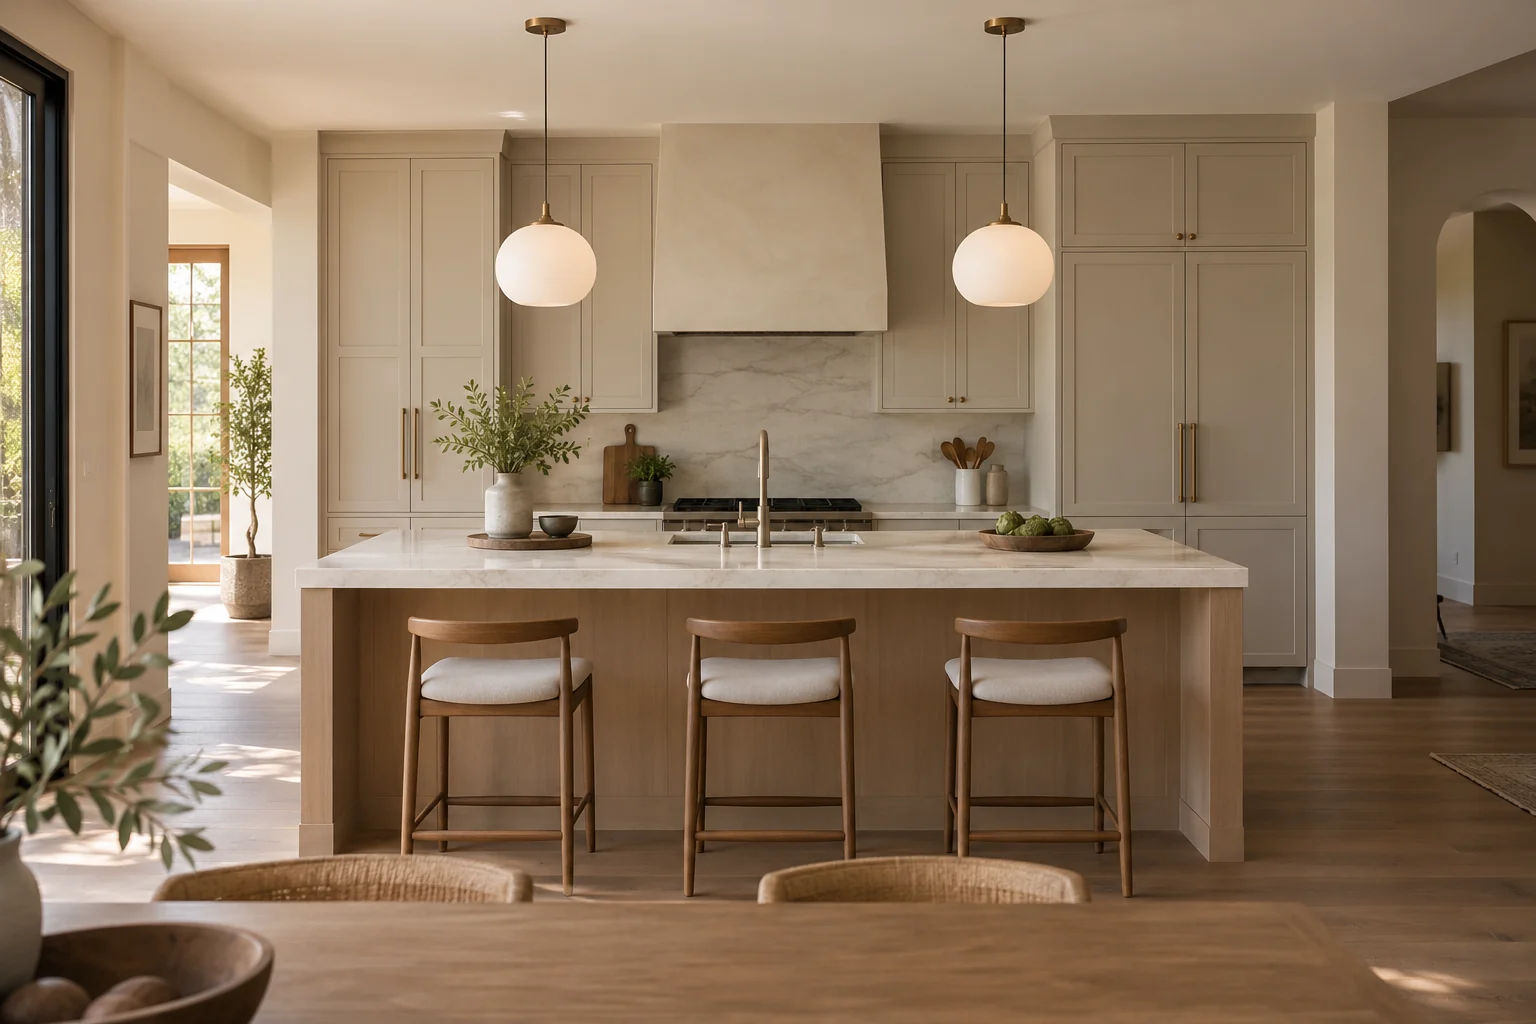
Two larger pendants or three smaller ones can both work over an 8-foot kitchen island. Choose the pendant size and count together, then check the actual shade diameters, gaps between bodies, end margins, and standing sightlines.
For an 8-foot island, do not choose three because the island is long or two because the room looks cleaner. Measure first, draw the actual diameters at proposed centers, and compare the result from where people stand and sit. The examples below are design checks—not mandatory installation rules.
Start with the usable island and the actual pendant
Measure the surface that will actually receive the pendant group, not only the cabinet box shown on a plan. Record:
- usable island length and width, including an overhang that affects seating;
- sink, cooktop, or other fixed work zones;
- stool positions and the direction people face when seated;
- paths from the main kitchen work areas to the island; and
- ceiling height plus any beam, hood, or sightline obstruction.
Then open the pendant’s dimension drawing. Record the widest part of the shade or body—not only the canopy diameter. Include a broad rim, glass, cage, or decorative projection if it occupies visual space. Also note whether the suspension is centered, whether the fixture hangs straight, and whether its rod or cord arrangement limits canopy placement.
This is the key distinction in pendant sizing for a kitchen island: a number on a product page matters only when you know what it measures. A 14-inch shade and a 14-inch canopy do not occupy the same visual footprint. If the pendant is irregular, draw a simple rectangle or circle around its widest points for the first layout test.
Published guides are starting points, not universal formulas. Lumens suggests considering the combined width of a pendant group in relation to the island length and dividing remaining space around the fixtures; use that as a prompt, then test the actual bodies against your island and sightlines. Its kitchen pendant guide explains the relationship without replacing a full-size check.
Compare two larger with three smaller pendants
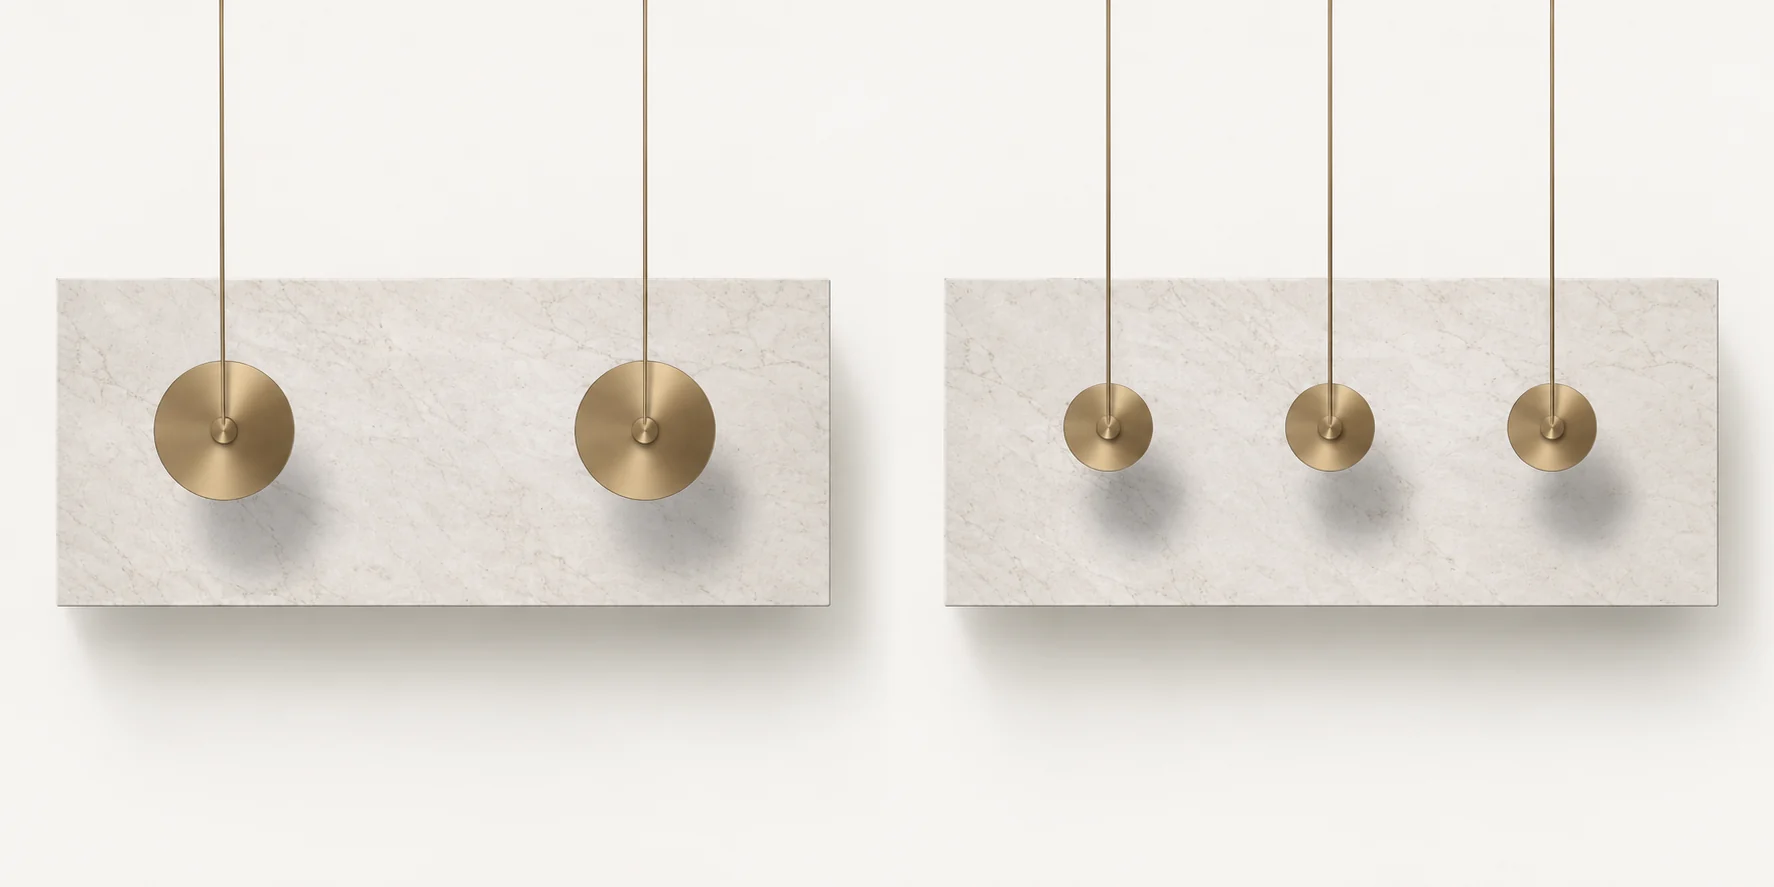
The question of how many pendant lights to use over an island is best answered alongside diameter. Compare the schemes on the same measured drawing rather than comparing count alone.
| Choice | Visual effect | Space and sightlines | What to verify |
|---|---|---|---|
| Two larger pendants | Fewer, stronger forms; a quieter rhythm and more visual weight per fixture | Wider openings can keep the island easier to see across | Each body should feel proportionate at the ends and not block the view toward the room |
| Three smaller pendants | More repetition along the island; the center can align with a central work zone | Smaller bodies may preserve openness, but an extra canopy and suspension adds activity | The shades still need real gaps and should not create a crowded skyline |
Two larger fixtures can suit a homeowner who wants distinct sculptural objects. Three smaller fixtures can fit when the usable length allows a middle position and the shades remain visually light. Neither count guarantees better task light. Check how the selected fixture’s light direction and output work with the rest of the kitchen lighting.
Draw each option at its real diameter. If two bodies nearly touch once centered over the usable work area, they are too large for that arrangement—or the centers need reconsidering. If three small circles leave tiny gaps and consume the island’s visual width, the count is not rescued by the word “mini.”
The goal is enough visual breathing room at both ends and between fixtures while keeping the group related to the island.
Kitchen island pendant spacing: name the measurement
“Spacing” can mean three different things. Label every line on the sketch so a lighting adviser or installer knows what you mean.
- Center-to-center distance runs from the center of one pendant body to the center of the next. It describes the body layout. Ceiling suspension points match it only when the fixture is centered on its suspension; an offset fixture requires its dimension drawing.
- Clear body-to-body gap runs from the nearest edge of one body to the nearest edge of the next. For identical round pendants, it is center-to-center distance minus one body diameter.
- End margin runs from the island end to the nearest edge of the outside pendant. It is not the distance from the end to the pendant’s center.
These measurements are linked. Moving centers apart usually increases the visible gap but reduces available space before the island ends. Making the body larger reduces the clear gap even when centers stay put. That is why “24-inch spacing” is incomplete unless it says what the 24 inches runs between.
For a straight row on a 96-inch island, suppose two identical 16-inch pendants have centers at 24 and 72 inches, measured from one end. Center-to-center distance is 48 inches. The clear gap is 48 − 16 = 32 inches. The outside body edges sit at 16 and 80 inches, so each end margin is 16 inches. This is arithmetic under stated assumptions, not a universal recommendation.
For three pendants, suppose centers are at 24, 48, and 72 inches and each body is 12 inches wide. Center-to-center spacing is 24 inches, the clear gap is 12 inches, and the end margins are 18 inches. The central center is at the island midpoint. Whether that looks right depends on the real shade, canopy, suspension, and room sightlines.
Work the 8-by-4-foot central-sink example
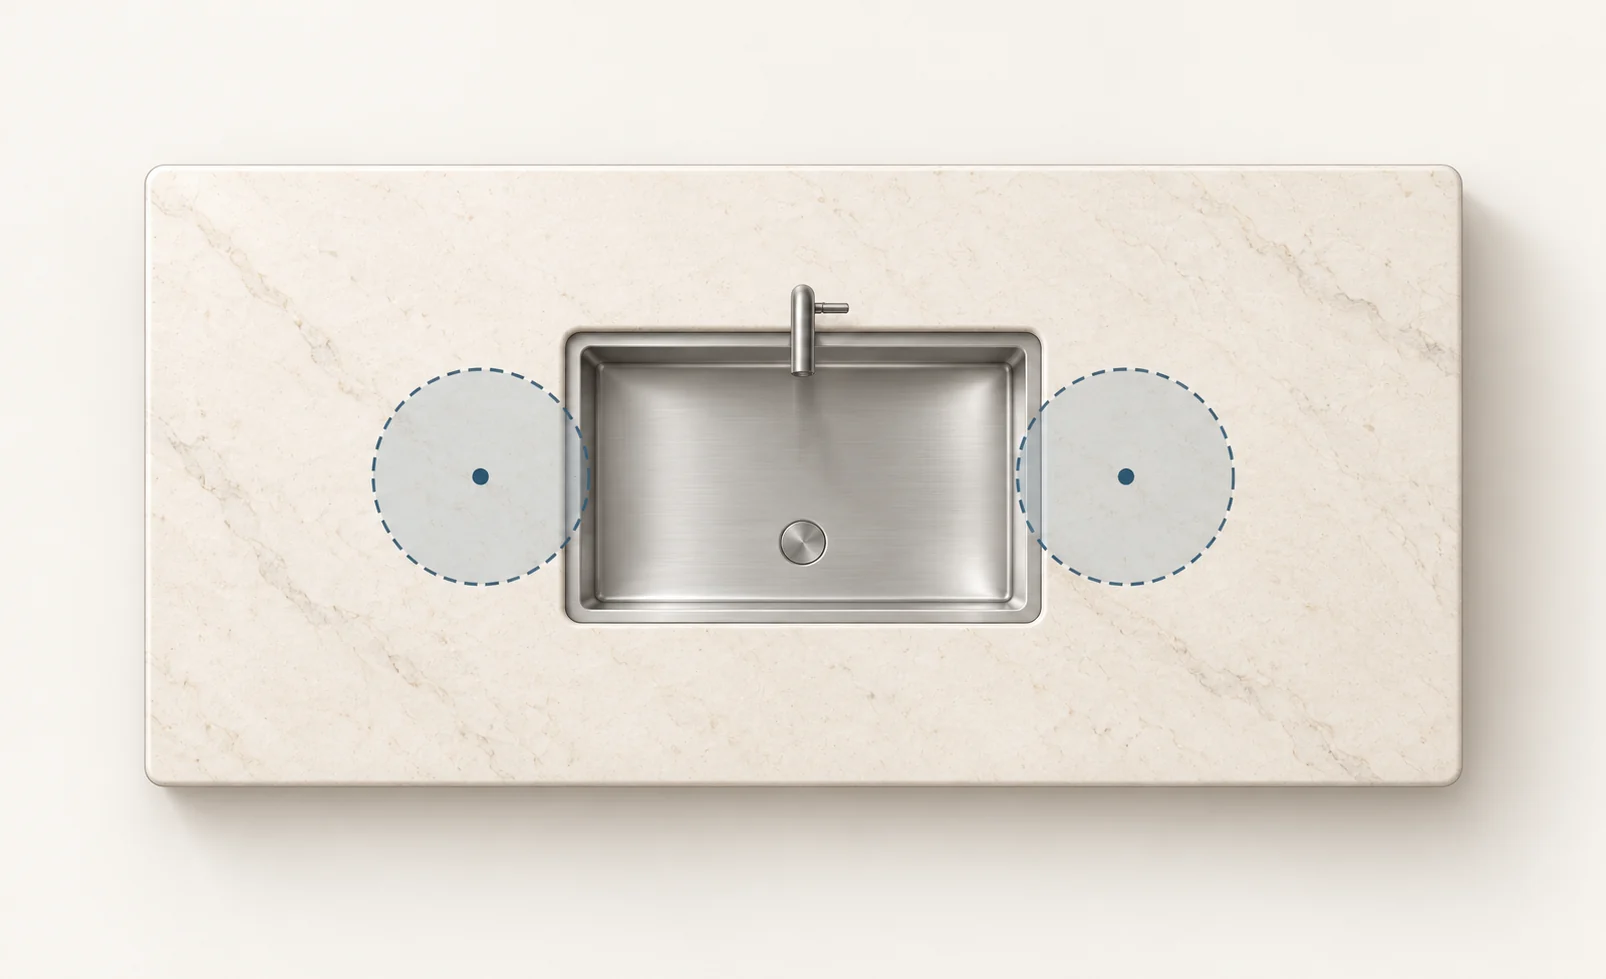
Apply the method to an 8-by-4-foot island with a 3-foot sink centered along the long axis. There are 2.5 feet of surface on each side of the sink. This is useful because a mathematically even row and a work-zone-based row describe different priorities.
Option A: two larger pendants at the quarter points
Use the 96-inch island as the reference length and place two proposed centers at 24 and 72 inches. With 16-inch bodies, the calculation above gives 48 inches center to center, 32 inches of clear body gap, and 16-inch end margins. The midpoint between fixtures falls at 48 inches—the sink center.
The centers are symmetrical across the full island and sit outside the sink opening. If the faucet or someone working at the sink needs a clear forward view, the open center can help. But the bodies are not centered over the middle of each 30-inch side worktop: their centers are 24 inches from the island ends, while the work surfaces run from 0 to 30 and from 66 to 96 inches. They sit near the inner ends of those side worktops, not the outer ends. The 16-inch footprints extend 2 inches over the nearby sink edges because the sink edges are at 30 and 66 inches. That overlap is a sightline and visual-footprint check, not a claim of a physical collision.
Option B: three smaller pendants with the center over the sink
For comparison, use the illustrative 12-inch bodies at centers 24, 48, and 72 inches. The center pendant is over the sink; the outer two are over the end areas. This creates a three-part rhythm and gives the sink a deliberate visual center.
Whether that center pendant is desirable depends on the standing position. From the long side where someone preps, a low or opaque shade directly over the sink may interrupt the view of the faucet or room beyond. From stools on the opposite long side, it may sit in the sightline of conversation. A transparent or open lower form changes the effect, but do not assume the product drawing tells you how it will feel at eye level—make a cardboard or taped outline and stand in the room.
Option C: centers at the middle of the two side worktops
The side-worktop centers are 15 and 81 inches: the midpoint of the first 30-inch work area and the midpoint of the last. With two pendants, these positions are left-right symmetric, favor the work surfaces, and leave the sink zone between them. Center-to-center distance is 66 inches. With 16-inch bodies, the clear gap is 50 inches and each end margin is 7 inches. Compared with the quarter-point example, this layout has a wider middle gap relative to its end margins.
That does not make 15 and 81 inches mathematically wrong. It exposes the tradeoff: a work-zone layout can follow how the island is used while producing a different visual rhythm. Choose it only after checking views from standing positions, seating, and the kitchen approach.
Check pendant placement from the room
Pendant placement over a kitchen island is experienced at eye level, not only from above. Stand where someone chops or washes, look toward the room, then repeat from the other side. Sit on each stool, especially if stools face the sink. Ask:
- Does a shade sit directly in the line of sight to the faucet, cooktop, or person opposite?
- Does the outer pendant feel connected to the island end or pushed toward a walkway?
- Does the group stay centered over the usable island where the sink makes work zones unequal?
- Are canopies, cords, and decorative projections more crowded than the shade circles suggest?
This is separate from vertical hanging clearance. Published guidance commonly begins around 30–36 inches from countertop to the bottom of a pendant, but the right result depends on the fixture, occupants, ceiling, and sightlines. Visual Comfort’s kitchen-island guide explains how to balance usable light with an unobstructed view. Do not copy a dining-table height value into this decision, and do not let a horizontal sketch decide vertical clearance by itself.
If you are still choosing between one continuous fixture and a group of pendants, see Jun Lighting’s guide to continuous forms and multiple suspended elements.
A practical pendant purchase checklist
Before ordering or locating ceiling points, make one final full-size check:
- Measure usable island length and width in inches.
- Mark the sink, seating, overhangs, and main standing views.
- Record the pendant’s widest actual body diameter, canopy size, suspension center, and dimension drawing.
- Draw two- and three-pendant options to scale, showing center lines and body edges.
- Label center-to-center spacing, clear body gap, and each end margin separately.
- Tape cardboard circles or use the product’s shipping outline on a countertop mock-up; inspect from standing and seated positions.
- Check proposed hanging height and suspension limits against the fixture instructions and room sightlines.
- Photograph the plan and keep the measurements for your lighting enquiry.
For Jun Lighting’s sculptural collection, bring the island dimensions, sink location, ceiling height, pendant references, and plan or photos to the Jun Lighting enquiry. That gives the conversation a concrete layout to assess without pretending that one count or spacing rule fits every kitchen.